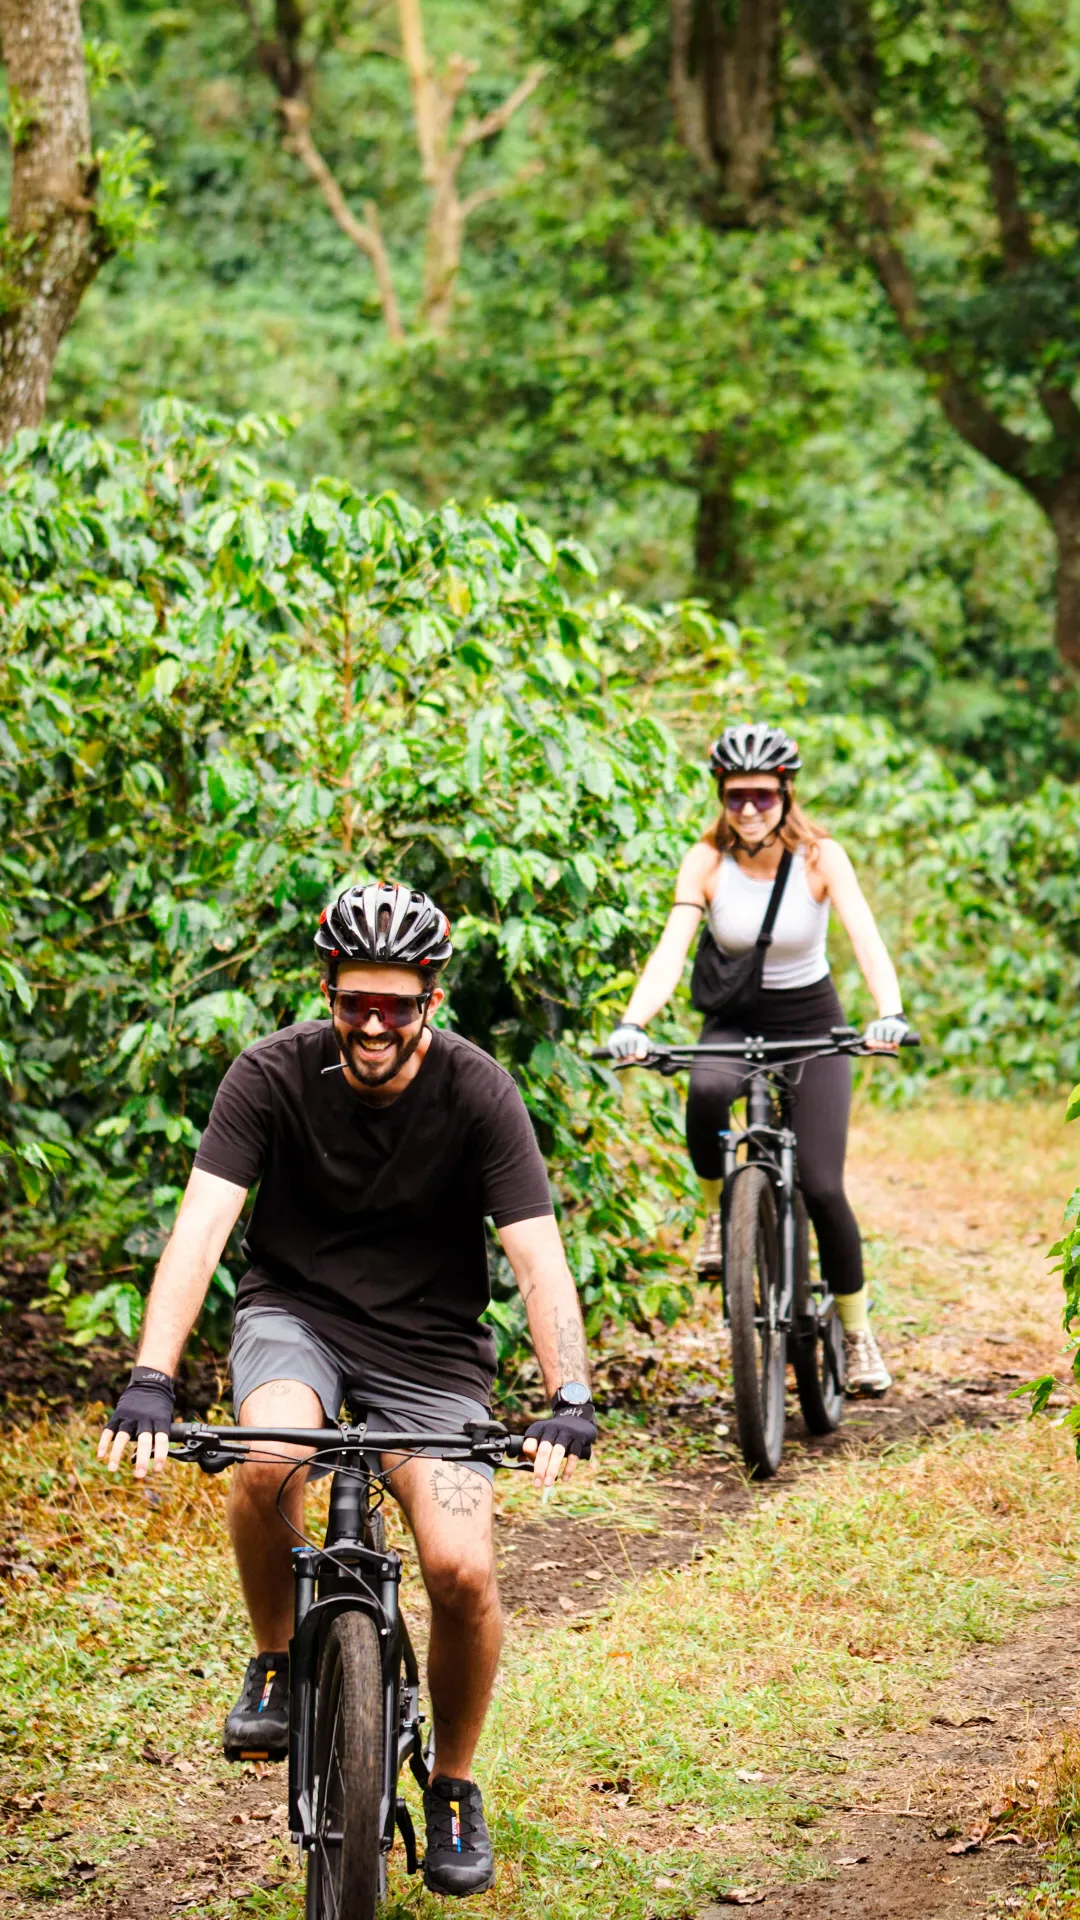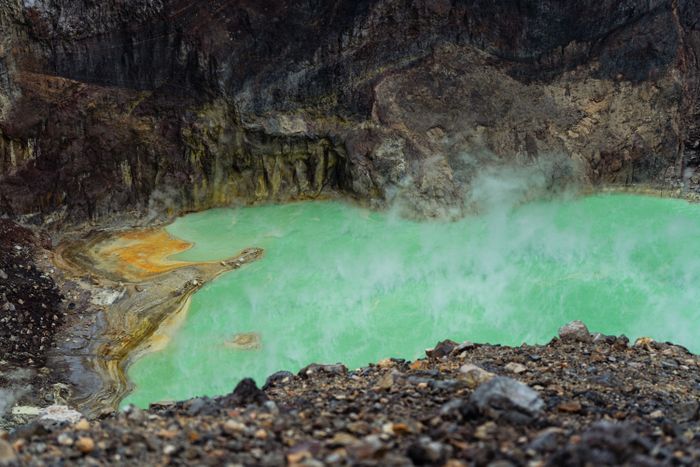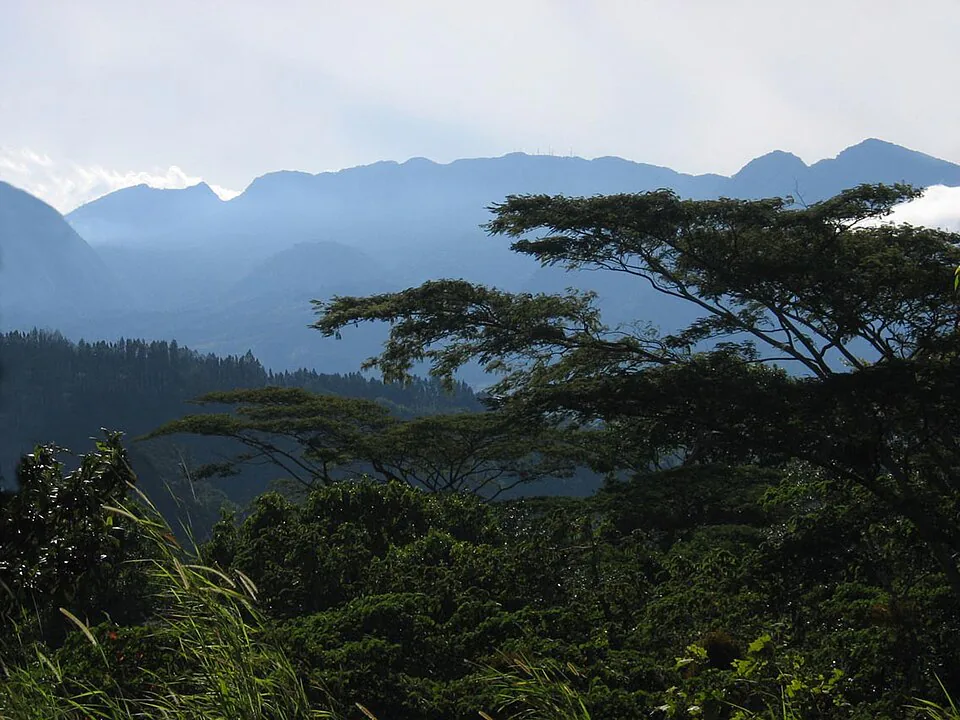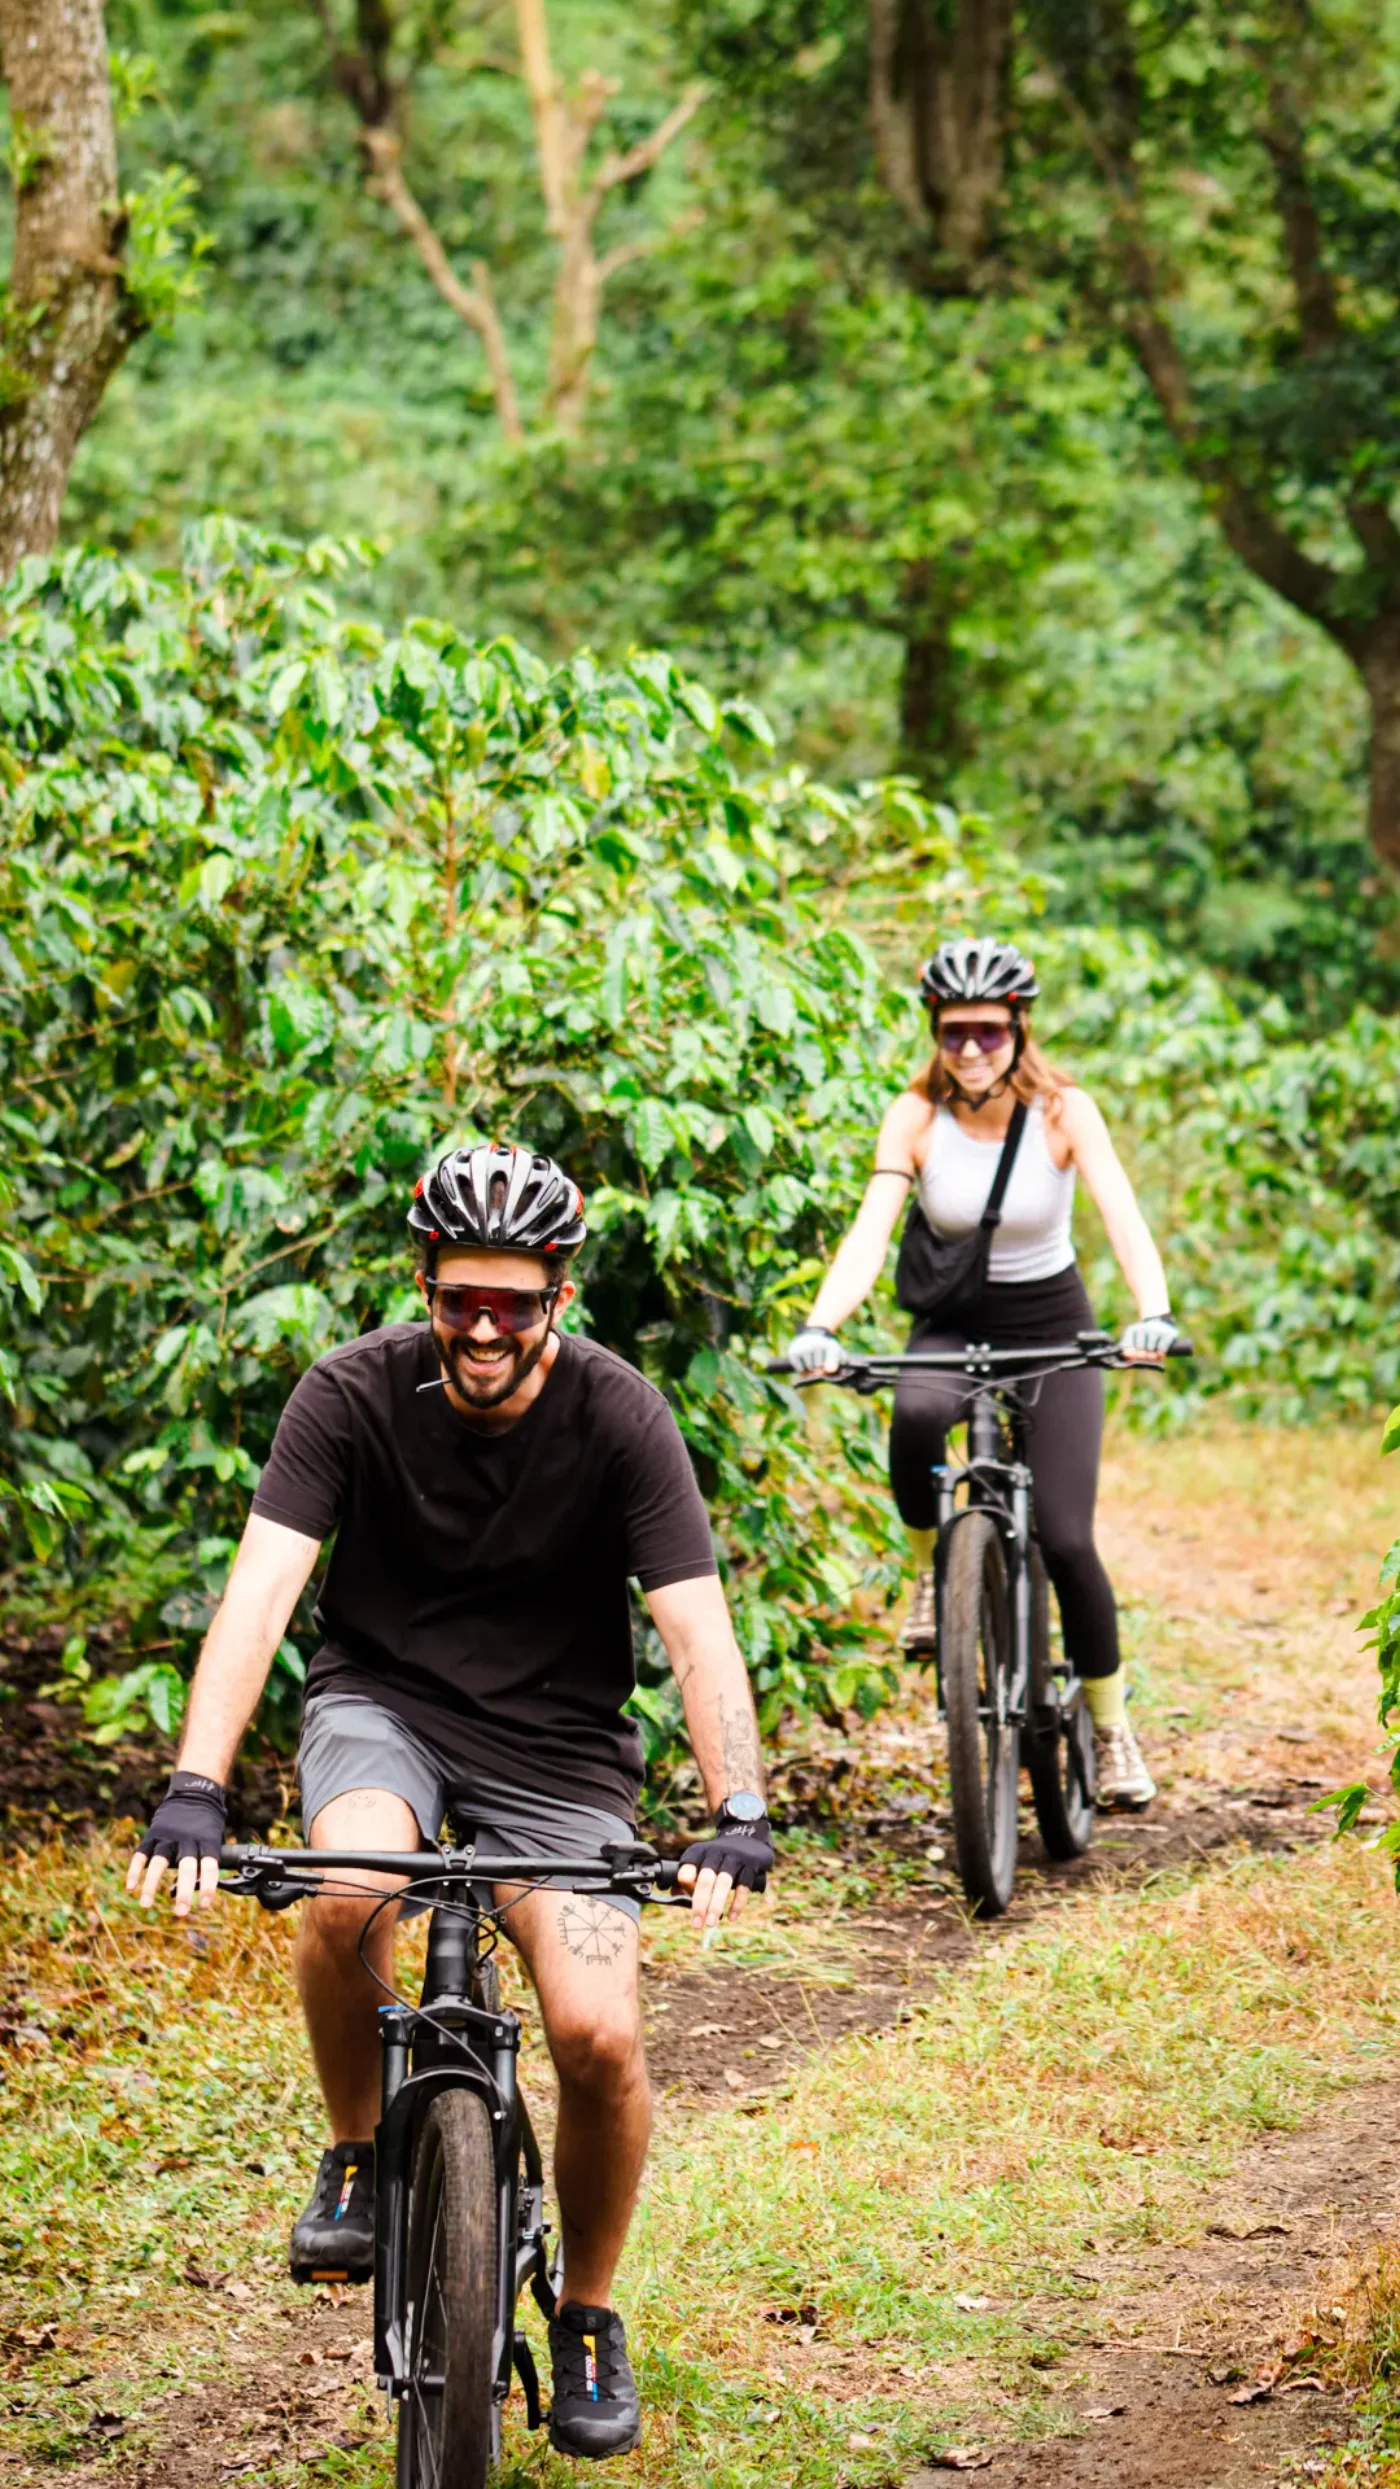
Five rides, five completely different versions of Boquete. One threads through coffee farms and a lava wall. One drops 700 metres to a river valley with hot springs. One climbs into cloud forest so thick you can hear the quetzals before you see them. Here is exactly what each route looks like — distance, gradient, surface, traffic, and who should actually attempt it.
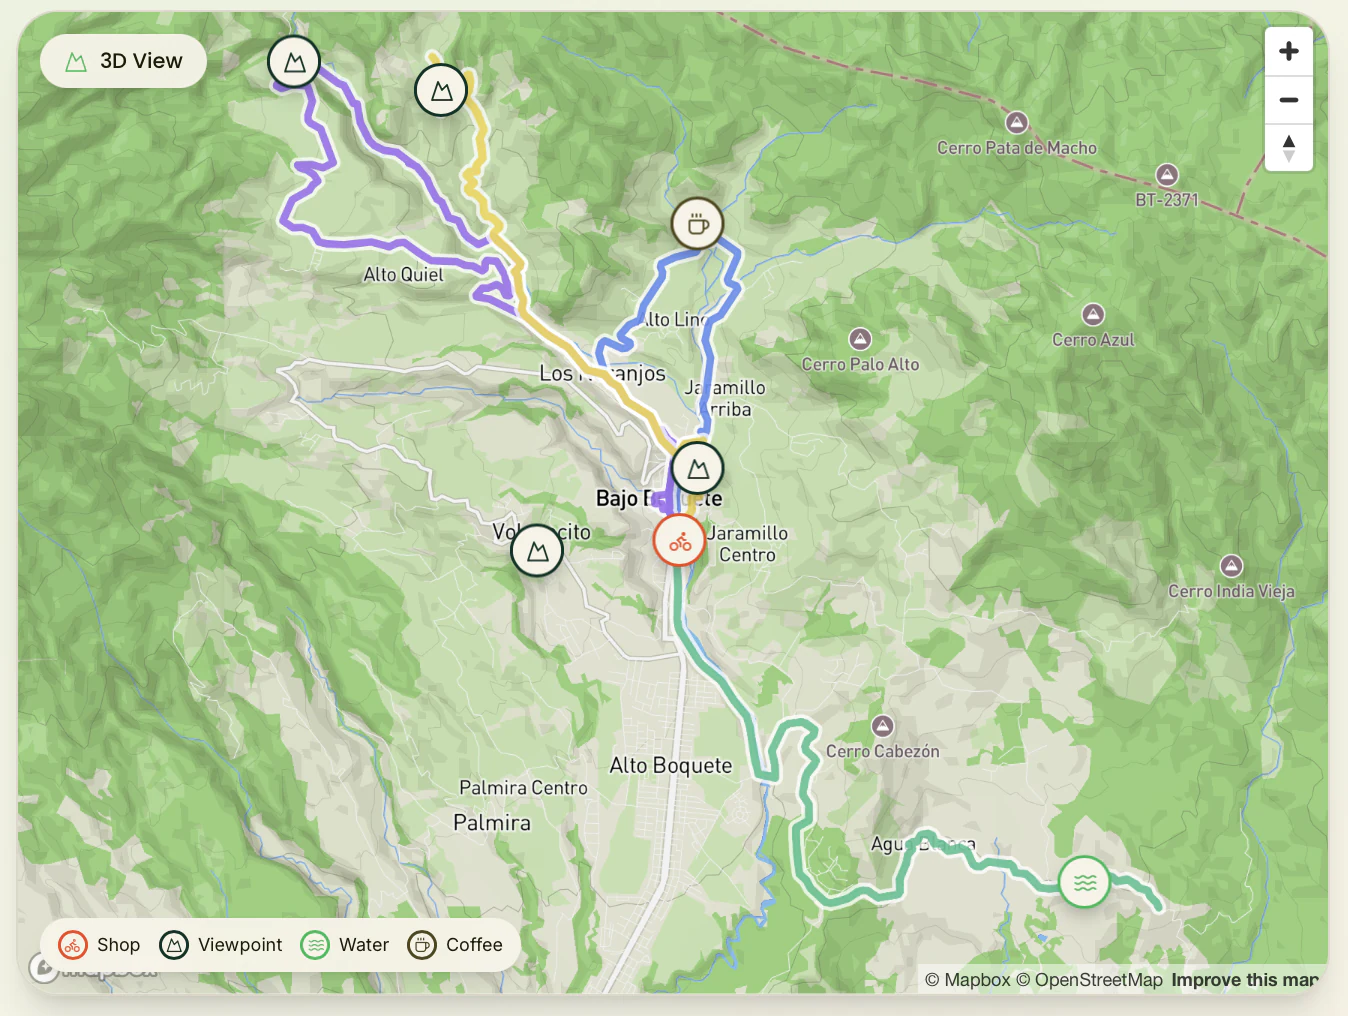
Most cycling content about Boquete stops at "moderate" or "challenging" and calls it done. That is not useful when you are standing at a rental shop at 7 am deciding whether to take a standard hybrid or pay extra for an e-bike. This guide gives you the granular detail: where the hard pitches are, which sections turn to mud in October, what the truck traffic is like on each road, and which routes a fit tourist on a rental bike can handle versus which ones will ruin your afternoon if you underestimate them.
All five routes start from Bajo Boquete town center — specifically from the main plaza on Avenida Central — so distances and elevation figures begin there. You do not need a shuttle or a guide for any of them, though the Caldera Road and Jaramillo Climb benefit from one.
Section 01Why Boquete is one of the best places to cycle in Panama
The short answer: elevation, temperature, and road quality. Boquete sits at 1,200 metres, which keeps the air between 16°C and 24°C year-round — cool enough that a two-hour climb does not cook you. The roads radiating out of town are paved, low-traffic by Central American standards, and surrounded by scenery that ranges from manicured coffee estates to old-growth cloud forest. No other town in Panama offers this combination within a 15-kilometre radius.
The longer answer involves geology. Volcán Barú's flanks create a radial pattern of valleys and ridges, which means almost every road out of Boquete climbs steeply at first, then rewards you with a long descent back. That makes natural loop routes easier to plan than in flatter terrain. The volcanic soil also drains quickly after rain — a practical advantage during the shoulder months of November and May, when you might get a morning shower but the road surface recovers within an hour or two.
Compared to other Chiriquí cycling destinations, Boquete has a clear edge for road and gravel riding. Volcán and Cerro Punta, 45 minutes west on the Inter-American Highway, offer spectacular high-altitude terrain but require a car to reach the trailheads and have less variety within walking distance of accommodation. Potrerillos, down in the lowlands, is flatter and hotter. Boquete is the only town where you can walk out of your hotel and be on a genuinely interesting cycling route within five minutes.
Section 02Before you roll: bike type, fitness, and what to bring
The five routes in this guide cover a wide spectrum. Two are suitable on any rental bike in reasonable condition. Two benefit significantly from a gravel or mountain bike. One — the Caldera Road — is long and exposed enough that an e-bike transforms it from a brutal day into a genuinely enjoyable one for most recreational riders.
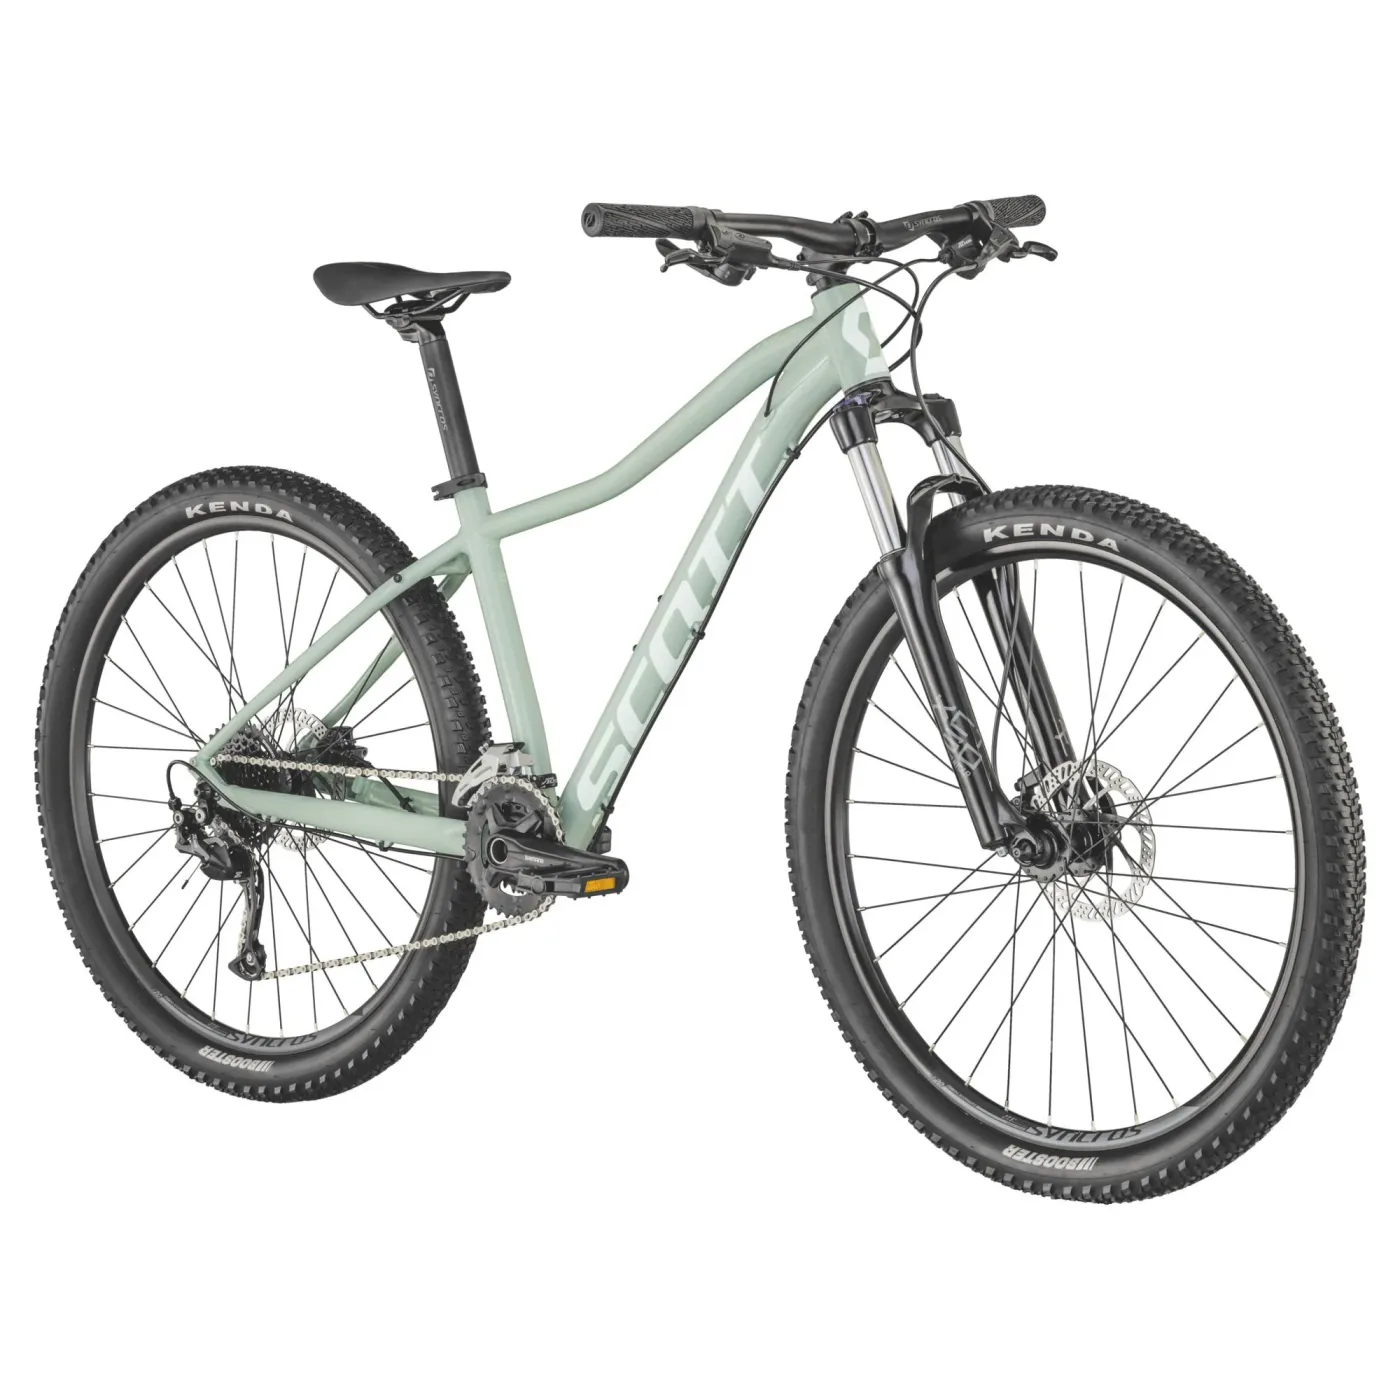
Standard hybrid or city bike: Fine for Bajo Mono Loop and Palo Alto Valley. Both are paved, have manageable gradients, and can be done in two to three hours. These are the routes to choose if you have not ridden regularly in the past year.
Road or gravel bike: Opens up Volcancito and the Jaramillo Climb comfortably. A road bike handles the pavement well; gravel tires give you more confidence on the occasional rough patch near farm entrances.
E-bike: The honest recommendation for Caldera Road if you plan to do the full out-and-back. The 700-metre descent to the valley floor is glorious on any bike, but the return climb — roughly 18 km at an average gradient of 4–6% with several pitches above 8% — will take a strong recreational rider 90 minutes of hard effort. An e-bike turns that into a 45-minute spin. E-Valley Bikes operates guided and self-guided e-bike tours out of Boquete, covering the Bajo Mono circuit and Palo Alto valley; their Orbea e-bikes handle the terrain well and come with helmets and route guidance included.
What to bring on any ride: Two litres of water minimum (three for Caldera), sunscreen, a light rain layer (afternoon clouds build quickly even in the dry season), a charged phone with an offline map downloaded, and $5–$10 in small bills for a roadside coffee or snack. Carry a basic puncture kit; there are no bike shops outside of town.
Section 03Route 1 — Bajo Mono Loop
The Bajo Mono Loop is the best introductory ride out of Boquete — a 22-kilometre circuit on paved and packed-gravel roads through the town's most photogenic coffee country, with a famous lava wall, a waterfall trailhead, and views of the Caldera River valley on the return leg.
Distance: 22 km (loop) | Elevation gain: 380 m | Highest point: ~1,580 m | Surface: 85% paved, 15% packed gravel | Difficulty: Easy–Moderate | E-bike needed? No — a standard bike handles it fine
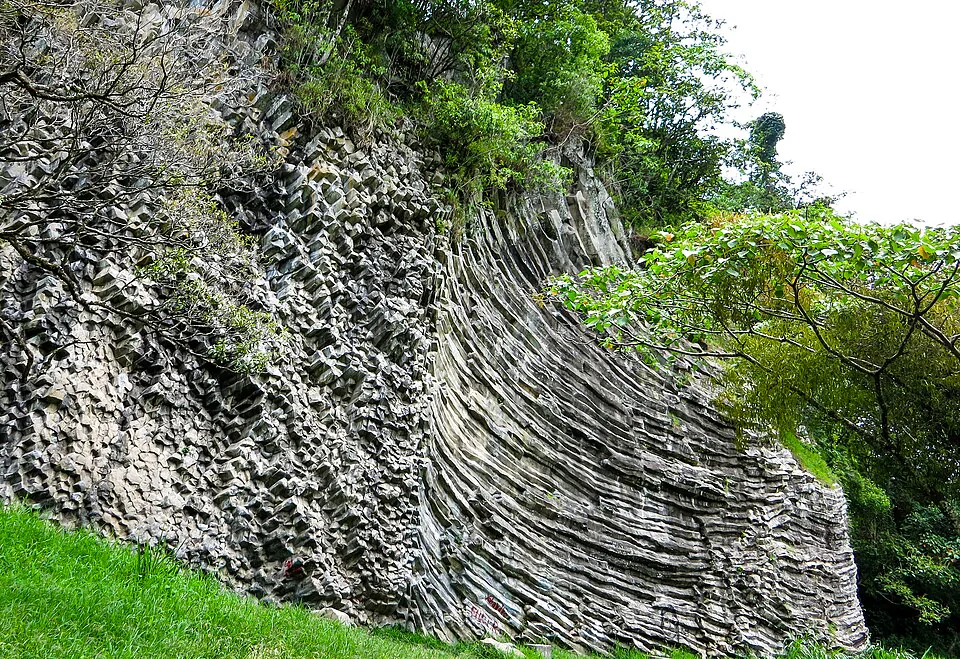
The route: From the main plaza, head north on Avenida Central and follow signs toward Bajo Mono. The road climbs gradually for the first 4 km at an average gradient of 3–4% — nothing punishing, just a steady warm-up. At kilometre 5 you pass Los Ladrillos, the basalt lava wall formed by an ancient Barú eruption: a 30-metre-high column of hexagonal rock columns that looks improbable in the middle of a coffee farm. Stop here. At kilometre 8 you reach the upper Bajo Mono area and the trailhead for the Lost Waterfalls (entry $10, worth it if you have an extra 90 minutes). The road surface becomes packed gravel for the next 3 km through the farm zone — rideable on any tire wider than 28mm, but slow and bumpy on narrow road tires. The loop closes by swinging south and dropping back toward town through the Palo Alto junction, with a fast 6-km descent that rewards the earlier climbing.
Gradient detail: The hardest section is a 1.2-km pitch between km 6 and km 7 that averages 7% and briefly touches 10% near a farm gate. Everything else is below 6%. The descent back to town is long and smooth — average 4% over 6 km with good visibility.
Traffic: Light. The Bajo Mono road sees mostly farm pickup trucks and the occasional tourist taxi. Mornings before 9 am are quietest. The road is narrow in places — single lane with passing spots — so ride predictably and stay left.
What you see: Coffee farms in various stages of the harvest cycle (October–February for peak cherry season), the Los Ladrillos lava wall, cloud forest canopy, and on clear mornings, the upper flanks of Volcán Barú directly ahead. Resplendent quetzals have been spotted along the upper section of this road in the dry season.
Three rides. One unforgettable Boquete.
Premium Orbea e-bikes that do the climbing for you. Helmet, gloves, water and route support included — and you pay when you arrive.
Coffee Farm E-Bike Tour
Ride to a working farm and see how Geisha — the world's most expensive coffee — is made. Tasting at Altieri Specialty Coffee, geisha ice cream included.
Guided Highlights Ride
Lost Waterfalls, Library Park and the highland viewpoints locals love — the spots most visitors never find.
Self-Paced Rental
Hourly or full-day. Take a recommended route or just wander. The e-bike means hills don't decide your day.
Section 04Route 2 — Volcancito Road
Volcancito is the local training climb — a 14-km out-and-back on a quiet paved road that gains 600 metres of elevation and delivers you to a high-altitude mirador with unobstructed views of the Barú summit and the Pacific lowlands on clear days.
Distance: 14 km out-and-back (28 km round trip) | Elevation gain: 600 m (all on the way up) | Highest point: ~1,800 m | Surface: 95% paved, occasional pothole sections | Difficulty: Moderate–Hard | E-bike needed? Not essential, but makes the climb significantly more enjoyable for recreational riders
The route: From the plaza, head west past the CEFATI visitor center and pick up the Volcancito road heading northwest. The first 3 km are gentle (2–3% average), passing through the upper residential zone of Bajo Boquete and then into open farmland. At km 3 the road kicks up properly. The next 8 km climb consistently at 5–8% with two notable steep sections: a 0.8-km pitch at km 5 averaging 9%, and a shorter 0.5-km wall at km 11 that briefly hits 12%. The pavement is generally good but deteriorates after km 10 — expect patched sections and a few potholes that require attention on the descent. The road ends at a small farming community; the mirador is a short walk from the road's highest accessible point.
Gradient detail: This is a sustained climb with no flat recovery sections above km 3. A recreational rider should expect 60–90 minutes of climbing on a standard bike, 35–50 minutes on an e-bike. The descent is fast (18–22 km/h average) and requires confident braking — the road is narrow and the potholes near the top demand attention.
Traffic: Very light. This road serves a small farming community; you may pass five or six vehicles on the entire climb. The main hazard is loose gravel on corners near the top and the occasional dog at farm entrances.
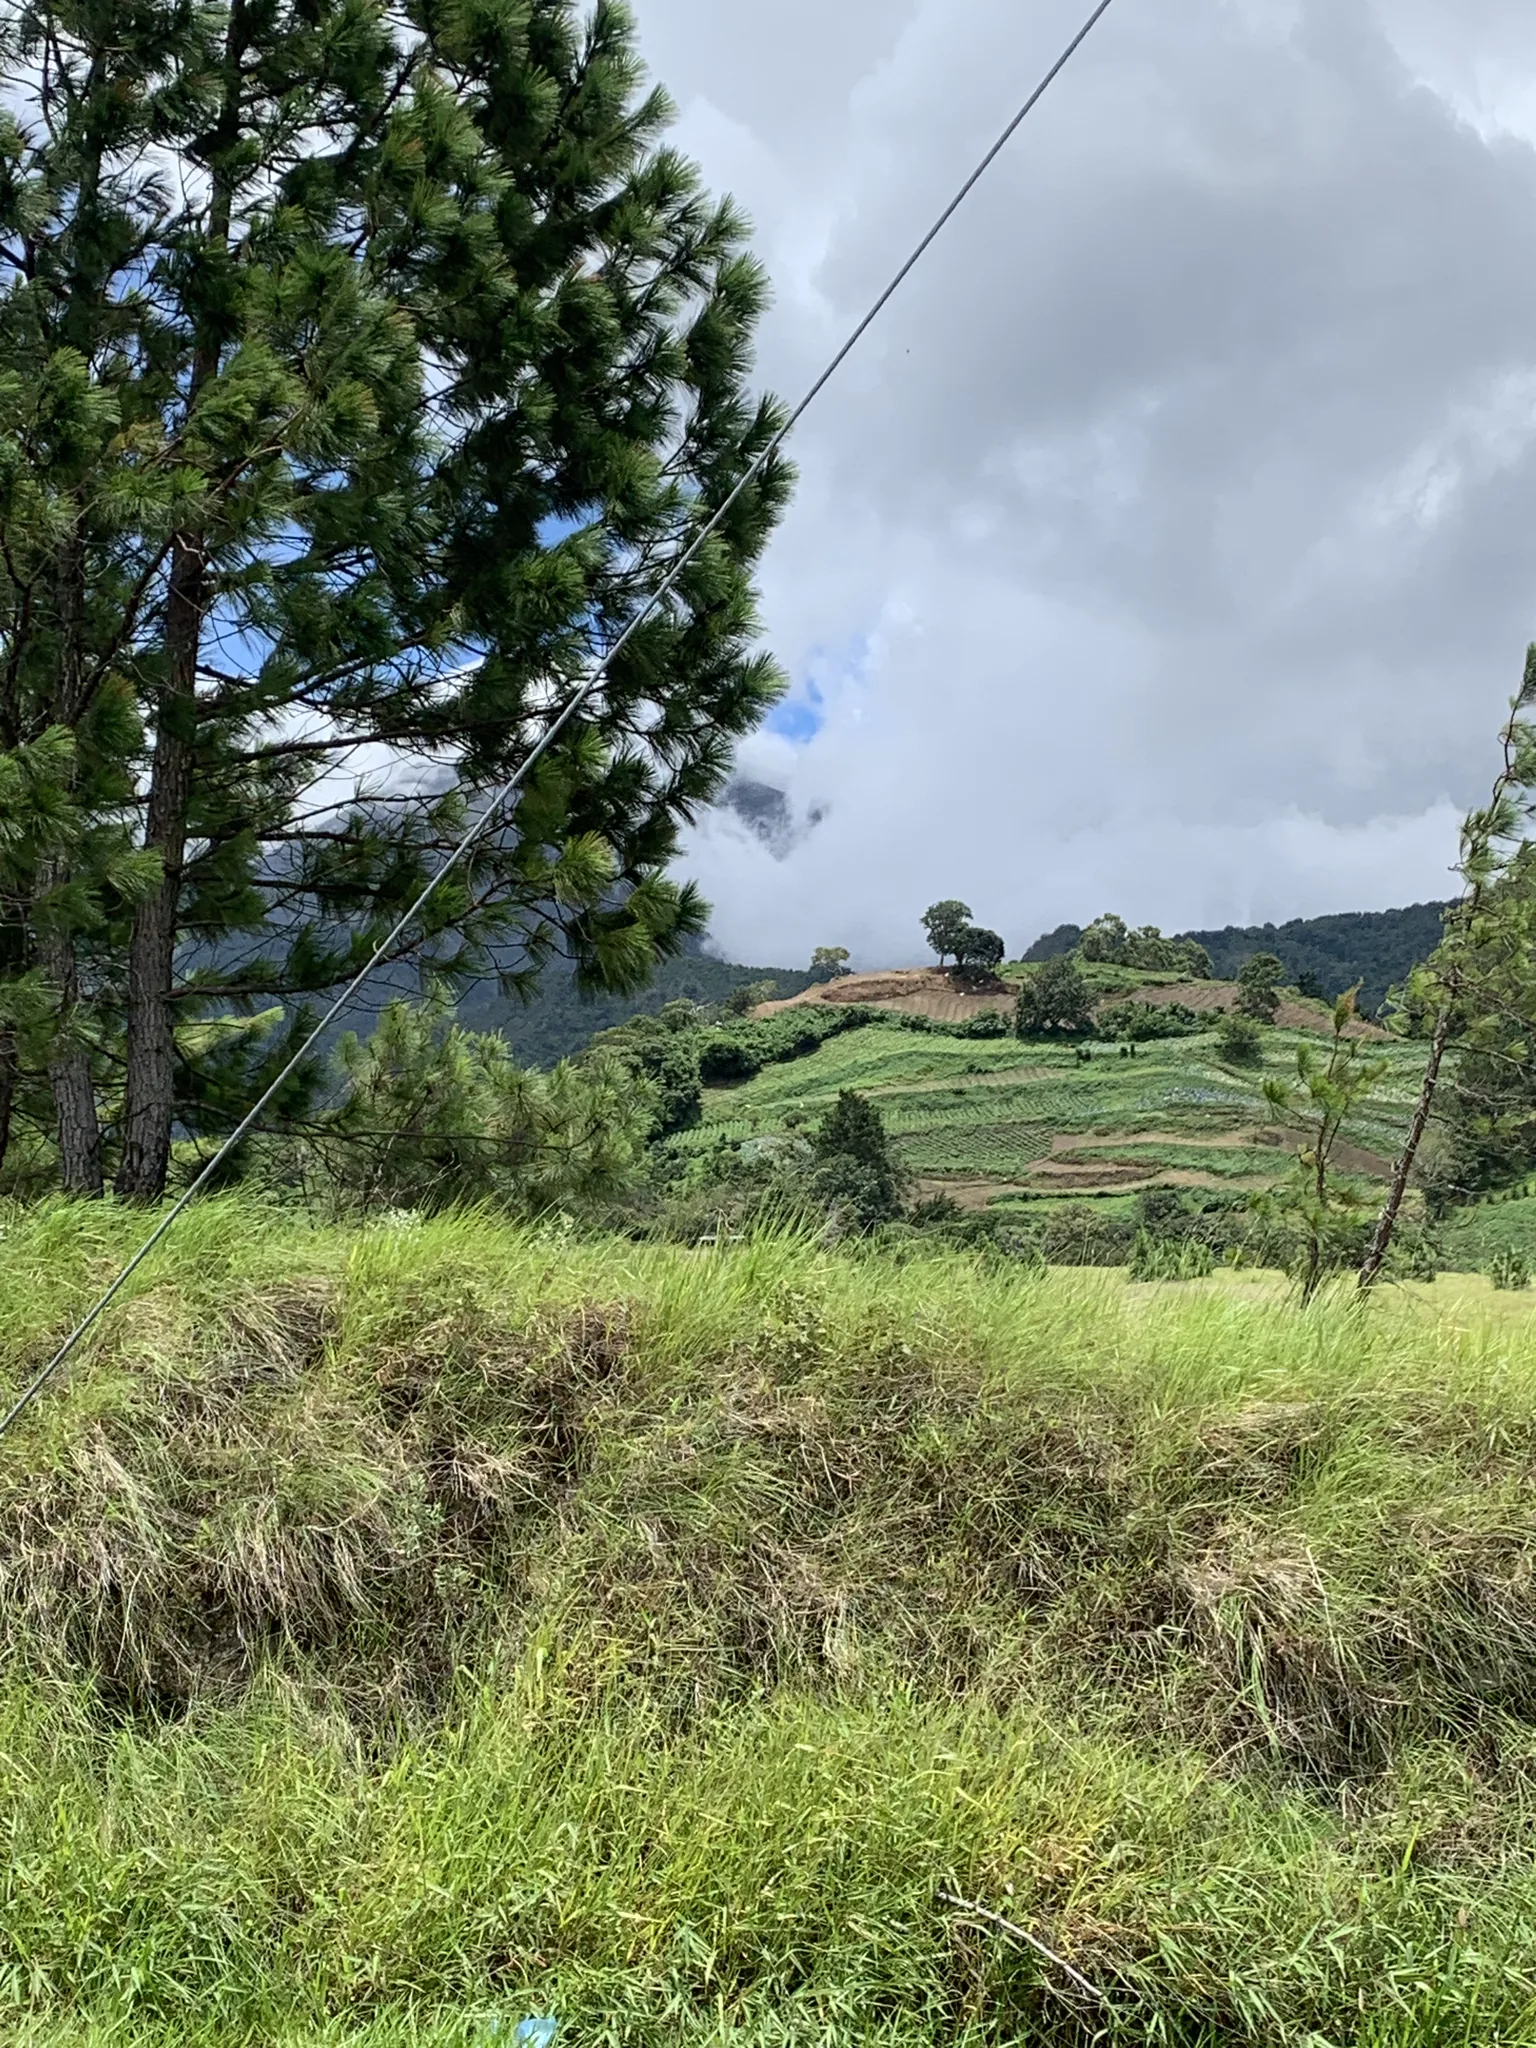
What you see: The transition from coffee farms to vegetable plots to cloud forest as you gain altitude is one of the most visually interesting aspects of this climb. At the top, on a clear morning (best before 10 am), you can see the Pacific Ocean glinting in the distance beyond David. The Barú summit — usually cloud-free before 9 am — is directly above you.
Who it suits: Fit recreational cyclists or anyone who rides regularly. If you can comfortably climb 400 m in a single session at home, you will manage this. If your last bike ride was a beach cruiser, choose the Bajo Mono Loop instead and come back to Volcancito on day two.
Section 05Route 3 — Caldera Road
The Caldera Road is the most dramatic ride out of Boquete — a 36-km out-and-back that descends 700 metres from the highlands to the Chiriquí Viejo River valley, passes through the village of Caldera, and ends at natural hot springs where you can soak before the long climb home. It is also the most demanding route in this guide.
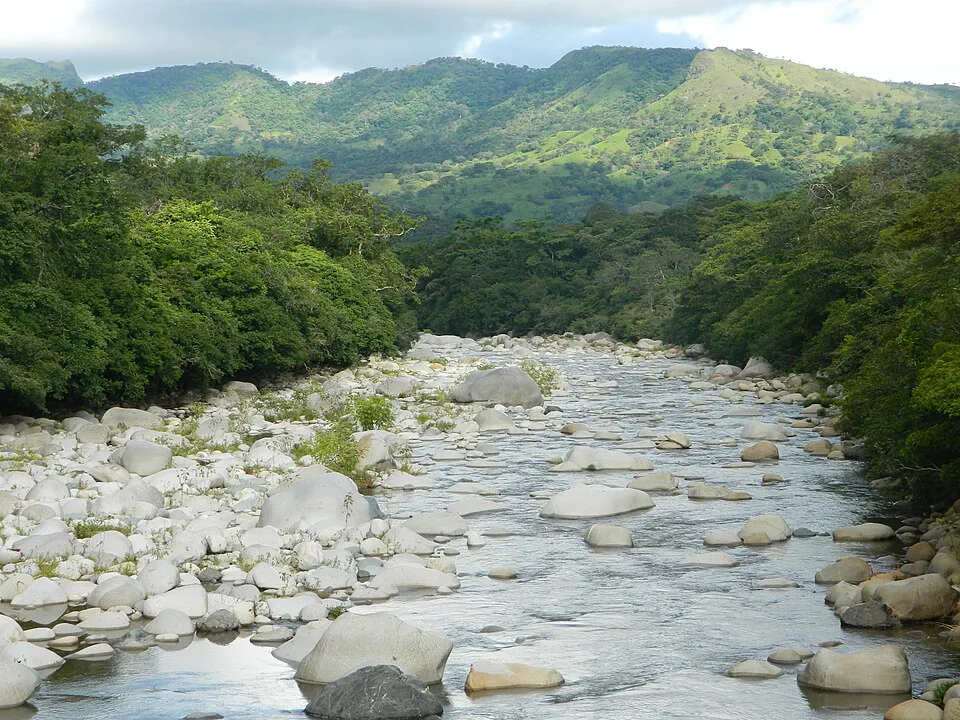
Distance: 36 km out-and-back | Elevation gain: 700 m (all on the return) | Lowest point: ~500 m (Caldera village) | Surface: 90% paved, 10% rough chip-seal with loose gravel patches | Difficulty: Hard | E-bike needed? Strongly recommended for the return climb
The route: Head south from the plaza on the main David road for 2 km, then turn left onto the Caldera road at the signed junction. The road immediately begins descending — and it does not stop for 18 km. The gradient averages 4–5% but reaches 8–10% in several sections through the gorge. The road surface is paved throughout but the chip-seal becomes rough and loose-gravel-strewn below km 10, particularly on the tight switchbacks through the canyon section. At the bottom, Caldera village has a small pulpería (corner store) where you can buy water and snacks. The hot springs (Pozos Termales de Caldera, entry $3) are 2 km past the village on a dirt track — manageable on any bike but slow going.
Gradient detail: Going down is the easy part. The return climb is 18 km at an average of 4% with sustained sections of 7–9% through the canyon. On a standard bike, expect 90–120 minutes of climbing in the heat of the valley (temperatures at Caldera regularly hit 30–33°C, a 10-degree swing from Boquete). On an e-bike, the return takes 50–65 minutes and is genuinely enjoyable. This is the one route in this guide where the e-bike recommendation is not optional for most riders — it is the difference between a great day and a miserable one.
Traffic: Moderate. The Caldera road is used by trucks serving farms and the village, and by tourist vans heading to the hot springs. The canyon section has blind curves — ride with a bell or call out on corners. Early morning (7–9 am) and late afternoon (3–5 pm) see the most truck traffic.
What you see: The descent through the Caldera canyon is spectacular — sheer rock walls, the river far below, and vegetation that shifts from cloud forest to tropical dry forest as you lose altitude. The hot springs themselves are a natural reward: three pools of varying temperature set in a forested riverside setting, popular with Panamanian families on weekends.
Section 06Route 4 — Palo Alto Valley
Palo Alto is the most relaxed ride in this guide — a 16-km out-and-back through a broad agricultural valley north of town, on a well-paved road with gentle gradients and almost no vehicle traffic. It is the right choice for families, casual riders, or anyone who wants to see coffee country without working too hard for it.
Distance: 16 km out-and-back | Elevation gain: 280 m | Highest point: ~1,480 m | Surface: 98% smooth paved | Difficulty: Easy | E-bike needed? No
The route: From the plaza, follow Avenida Central north and bear right at the Palo Alto junction (signed). The road runs along the eastern wall of the Palo Alto valley, with the Río Palo Alto below to your left and coffee and vegetable farms climbing the hillside to your right. The gradient is gentle throughout — the steepest section is a 0.6-km pitch at km 6 averaging 6%, otherwise you are looking at 2–4% for most of the ride. The road ends at a small community at km 8; turn around here or explore the farm tracks if you have a gravel bike.
Gradient detail: This is genuinely easy. A fit rider will average 14–16 km/h on the way up and 20–22 km/h on the return. Even a rider who has not been on a bike in months will complete this without distress. The road surface is the best of any route in this guide — smooth asphalt with good drainage and minimal potholes.
Traffic: Very light. The Palo Alto road is primarily used by farm workers and the occasional tourist. You are unlikely to encounter more than 10 vehicles on the entire out-and-back. The road is wide enough for vehicles to pass cyclists comfortably.
What you see: The Palo Alto valley is classically beautiful Boquete — green hillsides terraced with coffee plants, the river visible through the vegetation below, and the upper flanks of Barú framing the northern horizon. This is the route most often used by E-Valley Bikes for their guided e-bike tours, and it is easy to see why: the scenery is excellent and the logistics are simple. Several coffee farms along this road offer informal tastings — look for hand-painted signs and do not be shy about stopping.
Who it suits: Everyone. Families with children on rental bikes, older riders, people recovering from injury, first-time visitors who want to see the landscape without a demanding workout. Also a good warm-up route if you plan to tackle Volcancito or Jaramillo the following day.
Section 07Route 5 — The Jaramillo Climb
The Jaramillo Climb is the hardest ride in this guide and the most rewarding — a 24-km out-and-back that gains 900 metres into the cloud forest above Boquete, reaching elevations above 2,100 metres where the vegetation turns mossy and the temperature drops to 12–14°C even in the dry season. This is a route for serious cyclists.
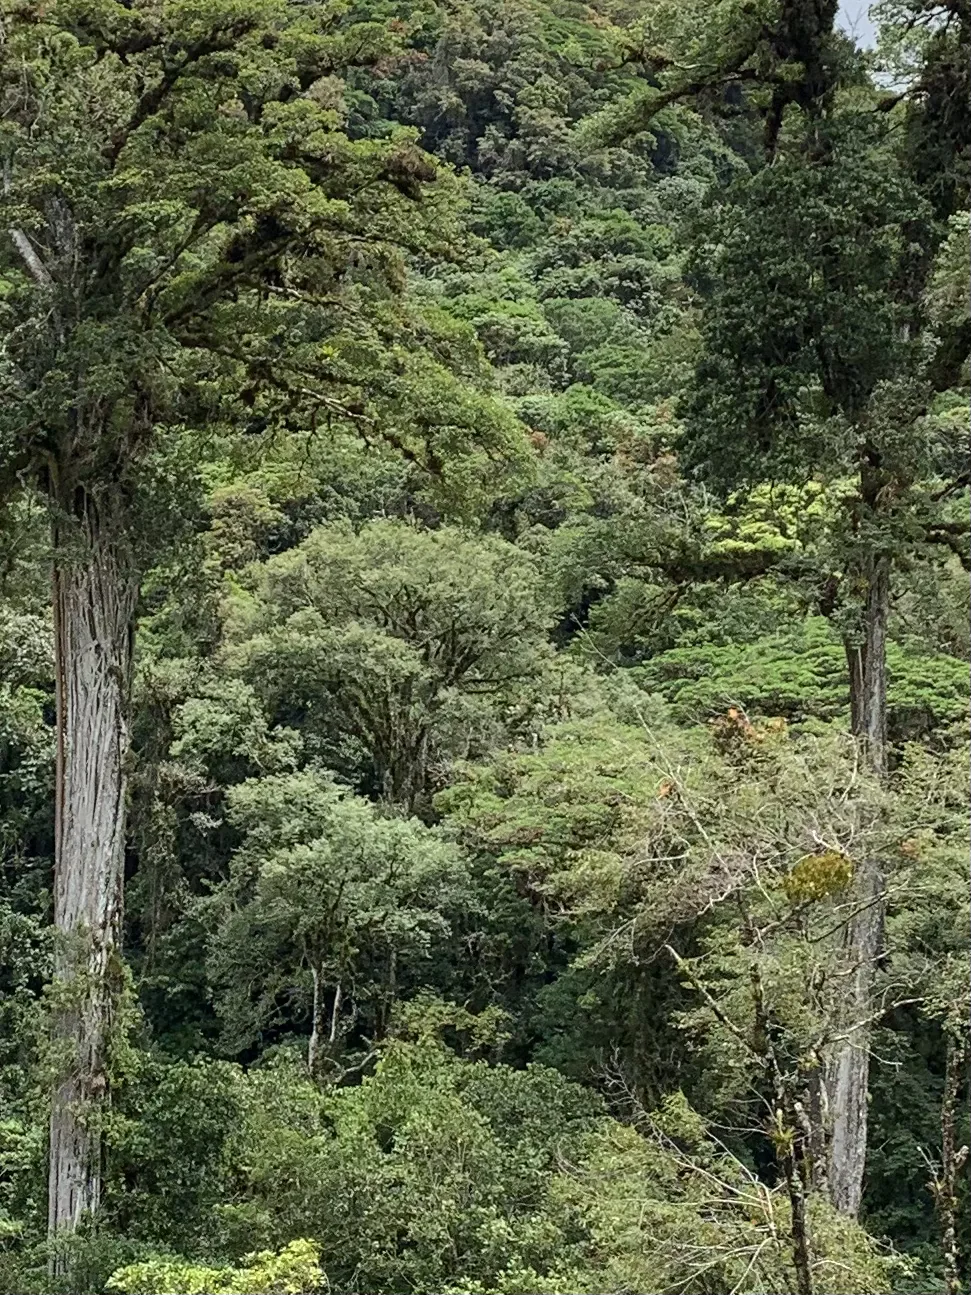
Distance: 24 km out-and-back | Elevation gain: 900 m | Highest point: ~2,100 m | Surface: 70% paved, 30% rough gravel and dirt | Difficulty: Hard | E-bike needed? Recommended for anyone who is not a regular cyclist; transforms the experience for recreational riders
The route: From the plaza, head north and east toward the Jaramillo neighborhood, following the road that climbs steeply out of the valley. The first 4 km average 7–8% — a rude awakening that filters out riders who have underestimated the route. The gradient eases slightly between km 4 and km 8 (5–6% average) before steepening again above km 8 as the road enters the cloud forest zone. Above km 10, the pavement ends and the surface becomes compacted gravel and dirt — rideable on a mountain or gravel bike, challenging on a road bike, and slow but manageable on an e-bike. The road continues climbing through increasingly dense forest to a high point at km 12, where a clearing offers views back over the Boquete valley and, on clear mornings, all the way to the Pacific.
Gradient detail: The Jaramillo Climb has the most sustained gradient of any route in this guide. The first 4 km at 7–8% will test anyone. There is a brief (0.4 km) flat section at km 7 near a farm gate — use it to recover. The gravel section above km 10 averages 6% but feels harder because of the surface. Total climbing time on a standard bike for a fit rider: 90–110 minutes. On an e-bike: 50–65 minutes.
Traffic: Very light above km 4. The lower section (km 0–4) passes through a residential area with moderate local traffic. Above the residential zone, the road serves only a handful of farms and the occasional birding group. The main hazards are loose gravel on the upper section and one blind hairpin at km 9 where farm trucks occasionally appear without warning.
What you see: The Jaramillo road passes through some of the most biodiverse terrain accessible by bike from Boquete. The cloud forest above 1,800 m is home to resplendent quetzals (most reliably spotted February–April), three-wattled bellbirds, and numerous orchid species. The clearing at the top is one of the best viewpoints near town — better than the official mirador at CEFATI because you earned it. Bring a jacket; it will be cold at the top.
Who it suits: Experienced cyclists who ride regularly, or anyone on an e-bike. This is not a route to attempt on a whim. If you are a roadie who rides 100+ km per week at home, you will find this challenging and excellent. If you ride occasionally for leisure, take the e-bike option and you will still have a genuinely memorable morning.
Section 08Route comparison at a glance
| Route | Distance | Elev. gain | Surface | Difficulty | E-bike? |
|---|---|---|---|---|---|
| Bajo Mono Loop | 22 km loop | 380 m | Paved + gravel | Easy–Mod | Optional |
| Volcancito Road | 28 km OB | 600 m | Paved (potholes) | Moderate–Hard | Helpful |
| Caldera Road | 36 km OB | 700 m return | Paved + chip-seal | Hard | Strongly rec. |
| Palo Alto Valley | 16 km OB | 280 m | Smooth paved | Easy | Not needed |
| Jaramillo Climb | 24 km OB | 900 m | Paved + gravel/dirt | Hard | Recommended |
OB = out-and-back. Elevation gain figures are one-way for out-and-back routes (you gain it all on the way out and descend it on the return, or vice versa for Caldera).
Section 09Seasonal riding conditions month by month
Boquete has two seasons: dry (December through April) and wet (May through November), with transition months at each end that are worth understanding in detail before you plan a cycling trip.
December–April (dry season): The best months for all five routes. Roads are firm, dust settles quickly after the rare shower, and visibility is excellent. Morning mist burns off by 9 am most days. The Jaramillo gravel section is rideable even on road tires. Caldera descent is fast and safe. This is the window to aim for.
May and November (transition months): Afternoon rain is likely but mornings are often clear. Start before 8 am and you will usually finish before the rain arrives. The Caldera chip-seal becomes slippery after rain — avoid it in wet conditions. The Bajo Mono gravel section gets soft but remains rideable. Palo Alto and Volcancito (both mostly paved) are fine in light rain.
June–October (wet season): Rain falls most afternoons and often mornings too. The Jaramillo dirt section above km 10 becomes genuinely dangerous — deep mud, zero traction, and a real risk of a fall on the descent. The Caldera canyon switchbacks are hazardous in the wet. Bajo Mono and Palo Alto remain viable if you accept getting wet. Volcancito is manageable on the paved lower section. If you are visiting in the wet season, stick to Bajo Mono, Palo Alto, and the lower half of Volcancito, and go early.
Route-by-route wet season rideability:
- Bajo Mono Loop: Rideable year-round; gravel section gets soft but not dangerous
- Volcancito Road: Lower 10 km fine; upper section gets slippery — turn around at km 10 in rain
- Caldera Road: Avoid in wet conditions — chip-seal corners are a fall risk
- Palo Alto Valley: Rideable year-round; smooth pavement drains well
- Jaramillo Climb: Avoid above km 10 in wet season; lower paved section is fine
Section 10Safety, traffic, and practical logistics
Boquete's roads are safer than most of Panama for cycling, but that is a relative statement. Here is what you actually need to know before riding any of these routes solo.
Traffic patterns: The busiest road for cyclists is the main David–Boquete highway, which you cross or briefly use on several routes. Avoid this road between 7–9 am and 4–6 pm on weekdays when truck traffic peaks. All five routes described here quickly leave the main highway and transition to quieter farm roads. The Caldera road has the most truck traffic of the five; the Palo Alto and Jaramillo roads have the least.
Blind curves: A recurring hazard on all mountain roads here. Trucks and buses take the inside line on corners. Ride predictably, use a bell or call out on blind bends, and never take a descent at speed without knowing what is around the corner. The Caldera canyon and the Jaramillo hairpin at km 9 are the two spots that deserve the most caution.
Dogs: Farm dogs are common on all five routes. Most bark and retreat. A few will chase. Do not panic — accelerate smoothly past them rather than swerving. Carrying a small spray bottle of water as a deterrent is a local tip that actually works.
Starting point and parking: All routes start from the main plaza in Bajo Boquete (Parque de Boquete, on Avenida Central). If you are driving from David or another town, the most practical parking is along Avenida Central itself (free, usually available before 8 am) or at the CEFATI visitor center car park 500 metres north of the plaza. Rental bikes can be picked up from operators within two blocks of the plaza — no shuttle required for any of these routes.
Navigation: Download the relevant section of Google Maps or Maps.me offline before you leave. Cell coverage is good on Bajo Mono, Palo Alto, and the lower Caldera road, but patchy on the upper Volcancito and Jaramillo routes. A downloaded GPX track on your phone is the most reliable navigation tool above km 8 on either of those climbs.
Guided vs. self-guided: The Bajo Mono Loop and Palo Alto Valley are straightforward enough to do entirely independently. The Caldera Road and Jaramillo Climb benefit from a guide or at minimum a detailed briefing from a local operator, particularly for the descent logistics and turnaround points. Guided e-bike tours — such as those run by E-Valley Bikes in the Bajo Mono and Palo Alto area — are the most efficient way to experience the coffee country routes if you want context on what you are riding through, not just the exercise.
Cost of going solo vs. guided: A self-guided day on a rental hybrid costs $10–$15 for the bike plus whatever you spend on food and water. A self-guided e-bike rental runs $40–$60. A fully guided e-bike tour (bike, helmet, guide, sometimes a coffee farm stop) runs $55–$85 per person. For the Caldera Road specifically, a guided tour that includes a vehicle shuttle for the return climb is worth considering — ask local operators about this option, as several offer it informally for around $20–$30 extra.